Why Does New Stainless Steel Rust? Preventing Cosmetic & Crevice Corrosion During Storage, Fabrication & Installation
It’s a frustrating and counterintuitive sight: a brand-new stainless steel component, prized for its corrosion resistance, showing signs of brownish rust stains. This doesn’t necessarily mean you received a faulty or incorrect material. More often than not, this “cosmetic corrosion” is a result of how the steel was handled after it left the mill.
Understanding why this happens is the first step to preventing it. This guide breaks down the science and provides actionable steps to keep your stainless steel pristine from the warehouse to the final installation.
The Paradox: Why “Stainless” Steel Can Rust
Stainless steel’s resistance to corrosion comes from a thin, invisible, and stable layer of chromium oxide (Cr₂O₃) on its surface, known as the passive layer. This layer is self-repairing in the presence of oxygen.
Rusting occurs when this passive layer is compromised and cannot reform. For new steel, this is almost always caused by one of two issues:
-
Iron Contamination: Free iron particles from nearby carbon steel tools, grinding dust, or handling equipment settle on the stainless surface. When exposed to moisture, these particles rust. Because the iron particles are on the stainless, not of it, this is often called “tea staining” or cosmetic surface rust.
-
Damage to the Passive Layer: The surface can be physically scratched or chemically compromised, exposing the raw iron, chromium, and nickel beneath to oxygen and moisture before the passive layer can reform.
High-Risk Phases & How to Mitigate Them
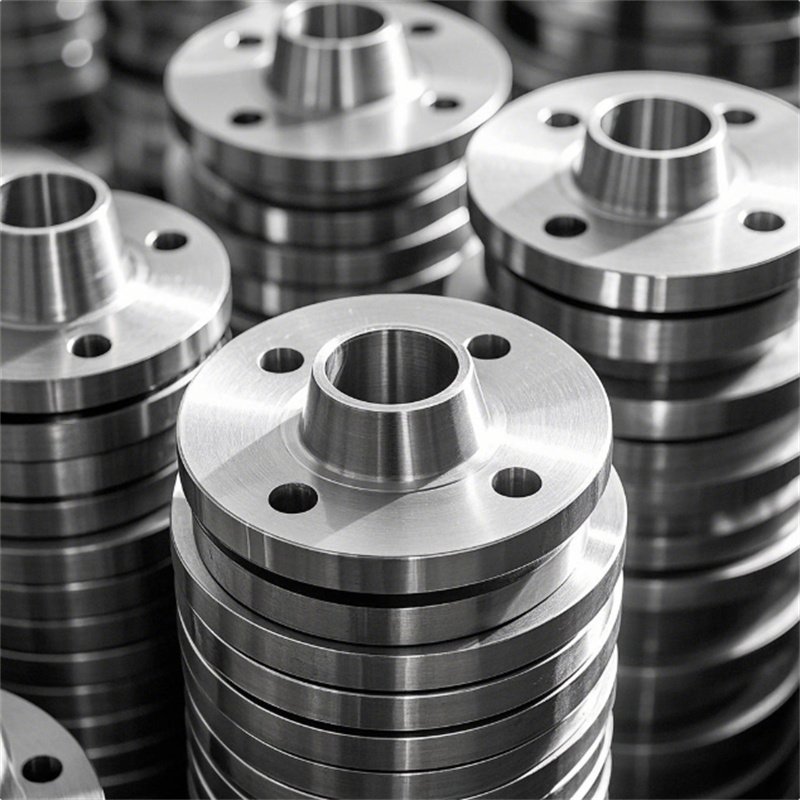
Phase 1: Storage & Handling
The Risks: Storing stainless steel outdoors, especially in coastal environments where salt air is prevalent, or placing it directly on carbon steel racks or next to carbon steel materials.
Prevention Protocols:
-
Dedicated Storage: Store stainless steel indoors in a clean, dry, and preferably humidity-controlled environment.
-
Segregation: This is non-negotiable. Store stainless steel completely separate from carbon steel. Use dedicated wooden or plastic pallets and storage racks painted with epoxy or coated with rubber.
-
Protective Packaging: Leave protective plastic films or paper on for as long as possible during storage. Ensure the packaging is breathable to prevent condensation trapping.
Phase 2: Fabrication & Workshop Activities
The Risks: This is the most common source of contamination.
-
Tool Contamination: Using grinding wheels, wire brushes, cutting tools, or shop hammers previously used on carbon steel.
-
Work Area Contamination: Fabricating stainless on workbenches or tables covered in carbon steel dust.
-
Welding Spatter: Welding near stainless surfaces without protection.
Prevention Protocols:
-
Dedicated Tools: Use tools (grinders, brushes, cutters, clamps) reserved exclusively for stainless steel. Mark them clearly (e.g., with green tape).
-
Clean Work Areas: Establish a designated, clean area for stainless work. Use protective barriers or tarps if complete separation isn’t possible.
-
Weld Protection: Use anti-spatter sprays or pastes to prevent spatter from bonding to the surface, which can create a crevice and become a rust initiation point.
Phase 3: Installation & Final Site Handling
The Risks: The almost-finished project is damaged right before handover.
-
Contact with Carbon Steel: Using carbon steel lifting slings, wire ropes, or tools during installation.
-
Mortar, Grout, and Concrete Splash: These highly alkaline materials can deposit chlorides and damage the passive layer if not cleaned immediately.
-
Embedded Iron: Iron particles from construction dust can settle on the surface and rust when rained on.
Prevention Protocols:
-
Final Inspection & Cleaning: Before final sign-off, thoroughly clean the entire installation.
-
Protective Measures: During construction, keep stainless components covered or masked until the very end.
-
Use Correct Fasteners: Ensure all supporting elements (bolts, anchors, clips) are also made of a compatible stainless steel grade.
The Silent Threat: Crevice Corrosion During Fabrication
Beyond surface rust, improper practices can set the stage for a more sinister and localized form of attack: crevice corrosion.
-
What it is: A form of localized attack that occurs in shielded areas (crevices) where a small volume of stagnant solution can become acidic and deoxygenated, breaking down the passive layer. Common sites include:
-
Under loose-fitting gaskets or washers.
-
At the interface of two surfaces (e.g., a lap joint).
-
Beneath welding spatter or embedded iron particles.
-
In threaded connections.
-
-
Why it’s dangerous: It initiates out of sight and can cause catastrophic failure without any warning signs on the majority of the surface.
Preventing Crevice Corrosion:
-
Design out crevices where possible (use full penetration welds instead of lap joints).
-
Remove all welding spatter and smooth out weld profiles.
-
Ensure complete drainage in vessels and systems to avoid stagnant zones.
-
Specify higher alloys (e.g., 316L over 304L, or duplex steels) for environments prone to chlorides.
The Ultimate Solution: Final Cleaning & Passivation
Even with the best practices, some contamination is likely. The final and most critical step is cleaning and passivation.
-
Cleaning: The absolute first step. You must remove all contaminants before you can restore the passive layer. This involves:
-
Alkaline cleaning to remove oils and greases.
-
Mechanical cleaning (with dedicated tools!) to remove embedded iron. Proprietary gels and pastes designed to dissolve iron contamination are highly effective.
-
-
Passivation: This is a controlled chemical process (typically using nitric or citric acid) that does two things:
-
It dissolves any free iron particles from the surface.
-
It strips away a thin layer of the metal, allowing the chromium to react with oxygen to form a new, perfect, and continuous passive layer.
-
Important: Passivation will not work if the surface is not perfectly clean first. It enhances an already clean surface; it cannot fix a dirty one.
Actionable Checklist for Flawless Stainless
| Phase | Do’s | Don’ts |
|---|---|---|
| Storage | Store indoors, dry. Use dedicated wood/plastic racks. | Store outside or on carbon steel racks. |
| Handling | Use clean, dedicated gloves and lifting equipment. | Use carbon steel chains, slings, or hooks. |
| Fabrication | Use tools marked ONLY for stainless. Work in a clean zone. | Use tools previously used on carbon steel. |
| Installation | Protect surfaces from construction debris. Clean thoroughly after installation. | Allow mortar, grout, or carbon dust to sit on the surface. |
| Final Step | CLEAN mechanically, then PASSIVATE chemically. | Assume the mill finish is enough for a job site. |
Conclusion
The rust on new stainless steel is almost always a preventable artifact of its handling, not a defect in the material itself. By understanding the vulnerability of its passive layer to iron contamination and physical damage, you can implement a culture of cleanliness and segregation throughout your supply chain. Investing in dedicated tools, proper storage, and a strict protocol of final cleaning and passivation is not an extra cost—it is essential insurance for the longevity, performance, and flawless appearance of your stainless steel project.