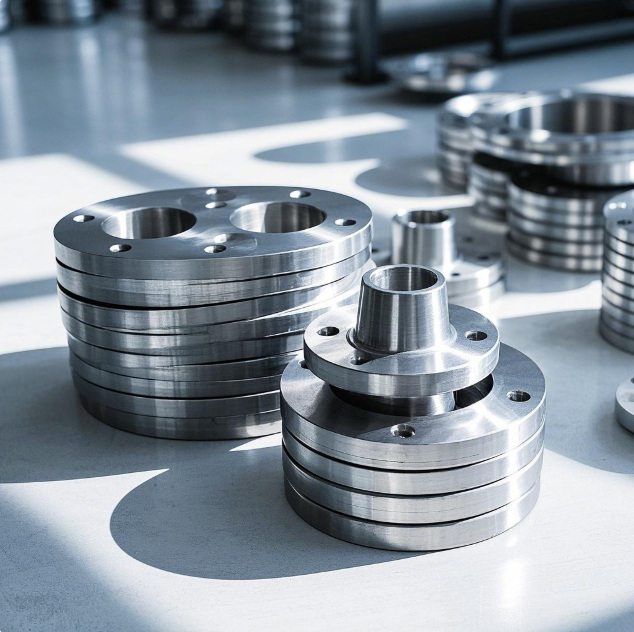
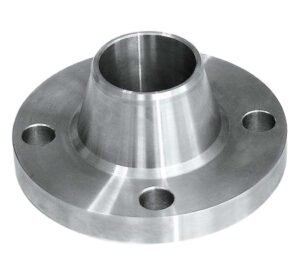
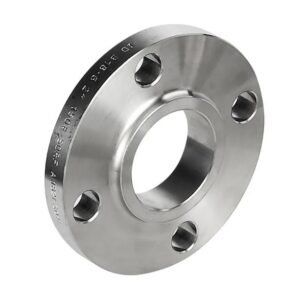
Even minor dimensional deviations in stainless steel flanges can lead to misalignment, leaks, or stress concentrations in piping systems. For flanges ranging from DN50 (2″) to DN800 (32″), adherence to international tolerance standards (ASME B16.5, EN 1092-1) is critical. Below is a checklist to prevent installation errors exceeding ±0.3mm, ensuring seamless integration and compliance.
Key Dimensions & Tolerances
1. Outside Diameter (OD)
| Flange Size | ASME B16.5 Tolerance | EN 1092-1 Tolerance |
|---|---|---|
| DN50–DN200 | ±1.5mm | ±1.0mm |
| DN250–DN500 | ±2.5mm | ±1.5mm |
| DN600–DN800 | ±3.0mm | ±2.0mm |
Check: Measure OD at 4 quadrants. Ensure it’s within ±0.3mm of mating flange for smooth bolt alignment.
2. Bolt Circle Diameter (BCD)
| Flange Class | ASME B16.5 Tolerance | EN 1092-1 Tolerance |
|---|---|---|
| 150LB/PN10 | ±0.8mm | ±0.6mm |
| 300LB/PN16 | ±0.6mm | ±0.5mm |
| 600LB/PN40 | ±0.5mm | ±0.4mm |
Check: Use a vernier caliper to verify BCD. Mismatched BCDs >0.3mm cause bolt hole misalignment.
3. Flange Thickness
| Flange Size | Thickness Tolerance |
|---|---|
| DN50–DN300 | ±1.0mm |
| DN350–DN600 | ±1.5mm |
| DN650–DN800 | ±2.0mm |
Check: Confirm thickness matches piping specs. A 0.3mm mismatch can stress adjacent welds.
4. Flange Face Flatness
-
Raised Face (RF): ≤0.05mm deviation across the face.
-
Flat Face (FF): ≤0.1mm deviation (EN 1092-1).
Check: Use a straightedge and feeler gauge. Gaps >0.3mm risk gasket blowouts under pressure.
5. Bore/ID Concentricity
| Flange Size | Max Eccentricity |
|---|---|
| DN50–DN200 | 0.2mm |
| DN250–DN500 | 0.3mm |
| DN600–DN800 | 0.5mm |
Check: Rotate flange on a mandrel. Eccentricity >0.3mm disrupts flow and increases turbulence.
6. Bolt Hole Alignment
-
Positional Tolerance: ±0.5mm (ASME B16.5).
-
Hole Diameter: ±0.2mm oversize relative to bolt.
Check: Insert alignment pins. If pins resist entry, holes are misaligned beyond 0.3mm.
Critical Installation Checks
-
Pre-Installation
-
Verify flange markings (size, class, material grade).
-
Clean flange faces with acetone to remove debris.
-
Inspect for scratches/deformities exceeding 0.1mm depth.
-
-
Alignment
-
Use laser alignment tools for flanges >DN300.
-
Ensure parallel gap ≤0.3mm across the entire face.
-
-
Bolting
-
Follow ASME PCC-1 torque sequence (star pattern).
-
Torque tolerance: ±10% of target value.
-
-
Post-Installation
-
Hydrotest at 1.5x operating pressure.
-
Check for leaks with helium testing (sensitive to 0.3mm gaps).
-
Common Errors & Fixes
| Error | Consequence | Solution |
|---|---|---|
| Mismatched facing types (RF/FF) | Gasket compression failure | Standardize facing across system. |
| Over-tightening bolts | Flange warping | Use calibrated torque wrench. |
| Ignoring thermal expansion | Cold spring misalignment | Allow 0.2–0.5mm gap for growth. |
Supplier Compliance Checklist
-
Certifications: Ensure flanges meet ASME/EN standards with mill test reports (MTRs).
-
Dimensional Reports: Request third-party inspection certificates for critical tolerances.
-
Material Traceability: Confirm heat numbers match MTRs for ASTM A182/EN 10088-1 compliance.
Tolerance Quick-Reference Table
| Dimension | DN50–200 | DN250–500 | DN600–800 |
|---|---|---|---|
| OD Tolerance | ±0.3mm | ±0.5mm | ±0.7mm |
| BCD Tolerance | ±0.3mm | ±0.4mm | ±0.5mm |
| Thickness | ±0.2mm | ±0.3mm | ±0.4mm |
| Bore Eccentricity | ±0.1mm | ±0.2mm | ±0.3mm |
Final Tips
-
Laser Scanning: For flanges >DN500, use 3D scanners to map deviations.
-
Training: Certify installers to ASME B31.3 or EN 13480 standards.
-
Document: Log all measurements for audits and warranty claims.
By adhering to this checklist, you’ll eliminate installation errors, reduce downtime, and extend the lifespan of your piping systems.


